
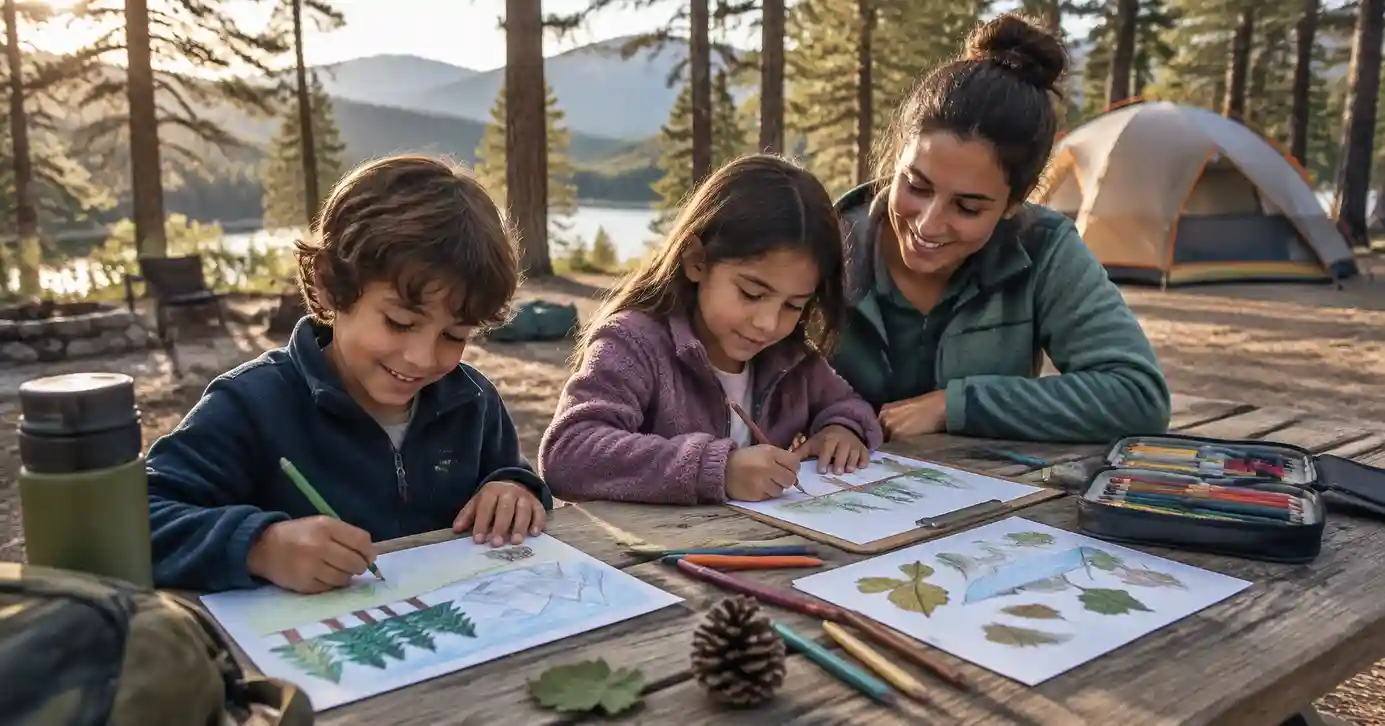
Camping Art Activities: 25 Nature Crafts for Kids
Camping art activities give kids something creative to do during quiet time without turning your campsite into a traveling craft room. The best projects use a few lightweight supplies, are easy to clean up, and let children observe the outdoors without damaging or removing natural features.
The 25 ideas below include nature-inspired drawing, paper camp crafts, observation activities, low-mess projects, and options for ordinary rainy periods. Most can be done with one small art pouch brought from home.
Table of Contents
How to Choose Camping Art Activities That Work Outdoors
A good campsite craft should fit the conditions you actually have.
| Camping Situation | Good Craft Choice |
|---|---|
| Only 10–15 minutes available | Color hunt, postcard, quick sketch |
| Very little mess allowed | Crayons, pencils, paper |
| Picnic table available | Collage, campsite map, paper crafts |
| Quiet afternoon | Nature journal, memory page |
| Light rain with a safe indoor space | Paper craft or drawing |
| Thunderstorm nearby | Stop outdoor crafts and move to safe shelter |
Use four simple filters when choosing an activity:
Time: Can your child finish or pause it easily?
Mess: Can every scrap, cap, and tool be recovered afterward?
Weather: Will wind, rain, or heat make the project impractical?
Supervision: Does the child need help with scissors, glue, small pieces, or another tool?
You do not need to prepare all 25 projects. Choosing three or four that match your trip is usually more practical.
Pack One Small Campsite Art Kit
A compact kit can support most of the activities in this guide.
Consider packing:
- Plain paper.
- Cardstock.
- A small sketchbook.
- Crayons.
- Colored pencils.
- Child-appropriate washable markers.
- Glue sticks.
- Paper tape.
- Child-appropriate scissors when suitable.
- A clipboard or firm writing board.
- A few pieces of clean recycled cardboard.
- A reusable pouch or small organizer.
- A bag for collecting every scrap afterward.
The U.S. Consumer Product Safety Commission recommends choosing art and craft materials intended for children, reading labels, supervising children, and avoiding materials with inappropriate warnings or hazards. CPSC also notes that children’s art products have additional safety requirements and that art materials must carry required hazard information where applicable.
For a simple campsite kit, skip supplies that are difficult to control outdoors, including loose glitter, spray paints, strong solvents, and other materials that could blow away, spill, or expose children to unnecessary hazards.
If you’re planning the whole trip around younger campers, our family camping guide for Santa Cruz shows how campsite access, facilities, activities, and children’s needs can shape the campground choice.
25 Camping Art Activities for Kids
These projects use the campsite as inspiration rather than assuming that rocks, leaves, pinecones, flowers, or other natural objects are available to collect.
Nature Observation Crafts
1. Nature Color Hunt Palette
Divide a sheet of paper into several color boxes.
Ask children to look around the campsite for colors that match each box: green moss, gray bark, blue sky, reddish soil, yellow flowers, or other visible colors.
They can fill the boxes with crayons or colored pencils instead of picking anything.
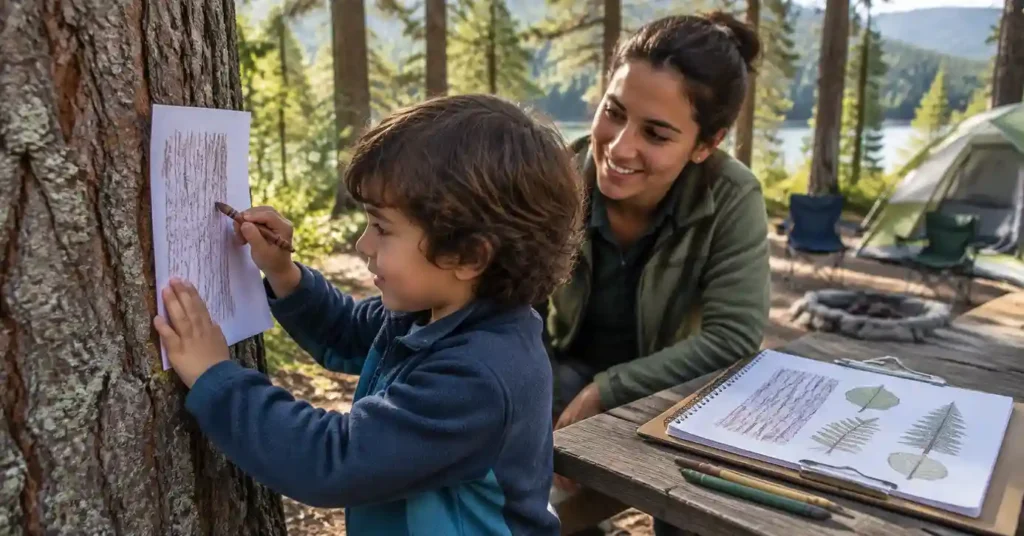
2. Texture Rubbings in Place
Place paper gently over a durable surface and rub the side of a crayon across the paper to reveal the texture.
A picnic table or another appropriate durable campsite surface can work well. If local rules permit gentle observation of tree bark, avoid scraping, peeling, or pressing hard enough to damage it. When in doubt, sketch the pattern instead.
3. Campsite Nature Journal
Give each child a small sketchbook and ask them to record one outdoor observation each day.
They might draw:
- A tree shape.
- A bird they noticed.
- The morning sky.
- A flower viewed without picking it.
- A mountain outline.
- The day’s weather.
The goal is observation, not scientific identification.
4. “Draw What You See” Nature Frame
Cut a rectangular viewing window from cardboard at home.
At camp, children hold the frame toward a landscape, tree group, lake, or campsite view and draw only what appears inside the window.
It encourages them to focus on smaller details rather than trying to draw everything at once.
5. Nature Shape Hunt
Ask children to search visually for shapes outdoors.
Examples might include:
- Circles.
- Spirals.
- Branching lines.
- Triangles.
- Wavy patterns.
- Symmetry.
They can draw each shape they find without collecting the object.
6. Leaf Shape Sketches
Look at leaves that remain attached to plants or naturally lie where they are.
Children can sketch:
- Overall shape.
- Edge pattern.
- Veins.
- Size differences.
- Color differences.
If collection is not clearly permitted, leave the leaf in place.
7. Tree Bark Pattern Drawing
Choose an interesting tree and observe its bark from a respectful distance.
Children can reproduce the lines, blocks, cracks, colors, and patterns they see on paper.
Do not carve, peel, scratch, paint, or attach materials to the tree.
8. Cloud and Sky Art
This project needs almost no equipment.
Children look at the sky and draw:
- Cloud shapes.
- Sunset colors.
- Morning light.
- Storm clouds viewed from a safe location.
- A clear blue sky.
- Moon shapes after dark with adult supervision.
If thunder develops, stop the outdoor activity and move to appropriate shelter.
9. Animal Track Sketch Cards
If you notice tracks on an established trail or near camp, observe them without disturbing the ground.
Children can draw the track shape on small cards and write where they noticed it.
Avoid confidently labeling the species unless you have a reliable identification source.
10. Nature Photo-to-Sketch Challenge
Photograph a landscape, tree, flower, or other permitted subject without disturbing it.
Back at the picnic table, use the photograph as a drawing reference.
This is especially useful when the interesting feature is somewhere children should not stand for a long period.
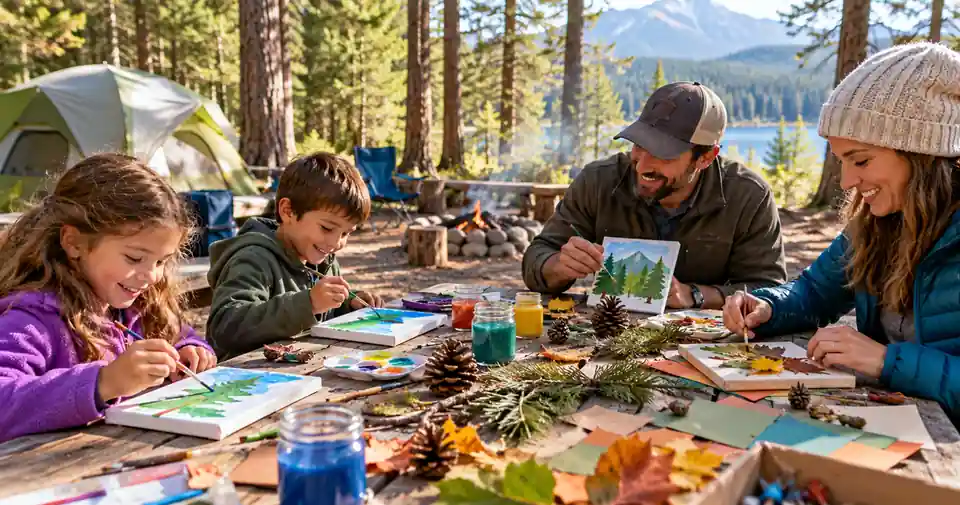
Camp-Themed Crafts With Supplies From Home
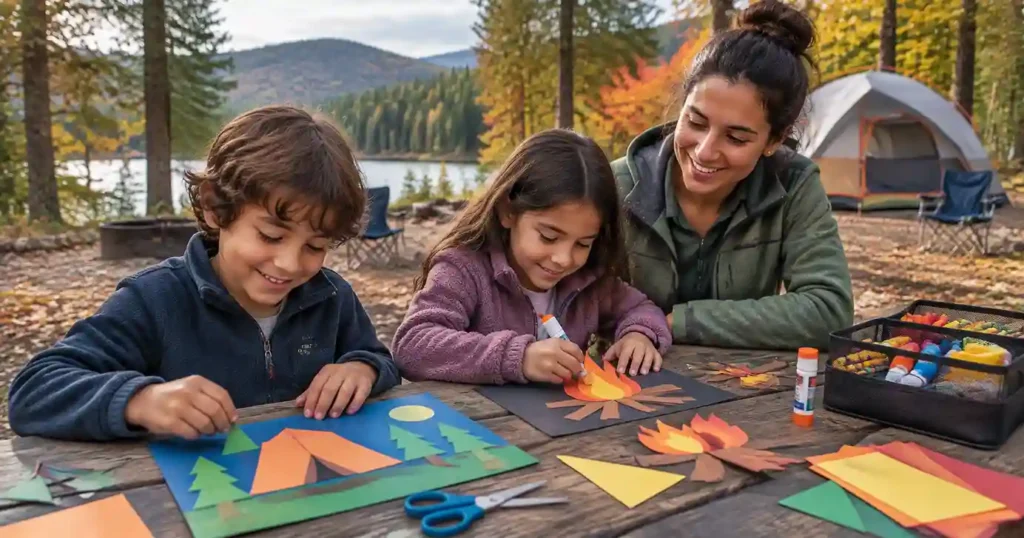
11. Paper Tent Collage
Cut simple triangles, rectangles, and other shapes from colored paper.
Children arrange them into:
- A tent.
- Trees.
- Mountains.
- A moon or sun.
- A picnic table.
A glue stick keeps cleanup simpler than liquid glue.
12. Paper Campfire Collage
Use brown paper for logs and red, orange, and yellow paper for flames.
This gives children a campfire-themed craft even when actual campfires are restricted or not part of the trip.
No real fire is needed.
13. Campsite Postcard
Fold or cut cardstock into a postcard-sized rectangle.
On one side, children draw their favorite part of the campsite. On the other, they can write a short memory or message.
It can become a trip keepsake without taking anything from the natural environment.
14. Campsite Memory Map
After walking around the campground with an adult, ask the child to draw a simple memory map.
They might include:
- Their tent.
- Picnic table.
- Restroom direction.
- Water station.
- Parking area.
- Nearby trail entrance.
This is an art activity, not a substitute for real navigation or adult supervision.
15. Constellation Card
Bring dark cardstock and a reliable star guide.
Children can recreate the pattern of one constellation they hope to look for later.
Use a white crayon, washable marker, or small paper dots rather than making holes if you want to keep the activity simple.
16. Forest Silhouette Art
Create a sunset background with crayons, pencils, or washable paint.
Then add dark tree silhouettes across the foreground.
The project captures a forest-camping theme without needing twigs or leaves.
17. Cardboard Binocular Craft
Bring two clean cardboard tubes from home and tape them together.
Children can decorate the outside and use them as a pretend observation tool.
Avoid adding long neck cords, especially for younger children.
18. Paper Weather Wheel
Cut two cardboard or cardstock circles at home or at the picnic table.
Add simple weather choices such as:
- Sunny.
- Cloudy.
- Rainy.
- Windy.
- Cold.
- Warm.
Children can rotate a pointer to match the day’s conditions.
It works well as part of a camping journal.
19. Paper Camp Flag
Give children cardstock and let them invent a family camping emblem.
They might include:
- A mountain.
- Tent.
- Tree.
- Star.
- Animal drawing.
- Family initials.
Keep the finished flag on the table, tent gear, or at home. Do not nail, staple, tie, or tape crafts to living trees.
20. Recycled Cardboard Campsite Diorama
Bring a few pieces of clean cardboard from home.
Kids can make a miniature campsite with:
- Paper tents.
- Folded cardboard trees.
- A pretend picnic table.
- Paper mountains.
- Small cardboard campers.
Keep all small pieces contained and pack everything out afterward.
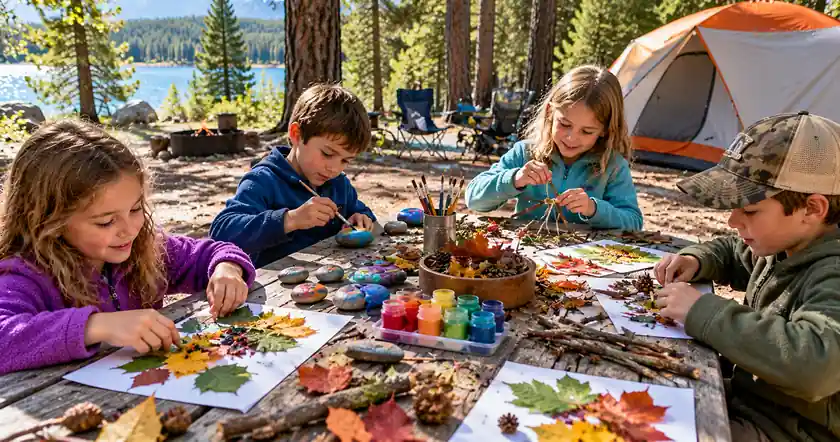
Quiet and Low-Mess Camping Crafts
21. Camping Story Illustration
Ask the child to invent a short camping story.
Instead of writing the whole story, they can draw one scene:
- Finding an animal track.
- Watching the sunset.
- Setting up a tent.
- Waking to rain.
- Looking at stars.
This activity works particularly well during campsite downtime.
22. Forest Animal Paper Puppet
Draw or cut a forest animal from paper or cardboard.
The animal can be real or imaginary.
Avoid implying that every animal represented in the craft actually lives around the campground. The goal is creativity, not wildlife identification.
23. Foil-Print Camp Art
Bring a reusable piece of foil from home as a texture tool.
Apply a small amount of child-appropriate washable paint to paper using the foil texture rather than spreading paint on campground surfaces.
Keep paint confined to your own paper and work area.
24. Camping Lantern Silhouette Art
Draw or cut a simple lantern shape from dark paper.
Place it against a yellow, orange, or pale background to imitate warm lantern light.
It creates an evening camping scene without using an actual flame.
25. End-of-Trip Memory Page
On the final day, divide a page into four spaces.
Ask the child to draw:
- One thing they saw.
- One sound they remember.
- Their favorite activity.
- Something they want to do next time.
It creates a personal keepsake while leaving the campsite unchanged.
Nature Crafts Without Taking Nature Home
Nature-based art does not require a bag of rocks, flowers, sticks, or pinecones.
The National Park Service’s Leave What You Find guidance explains that natural objects—including rocks, flowers, feathers, pinecones, dead leaves, and sticks—can have important ecological roles. NPS recommends leaving natural items where they are and notes that taking natural or cultural objects may also be prohibited in specific locations.
A simple approach is:
- Instead of taking a rock: sketch or photograph it.
- Instead of collecting a flower: match its colors with crayons.
- Instead of keeping a leaf: draw its shape and vein pattern.
- Instead of taking a pinecone: study and sketch its pattern.
- Instead of collecting bark: draw the texture while leaving the tree untouched.
Rules can differ among parks, forests, campgrounds, and other public lands. If a particular activity depends on collecting natural materials, check the destination’s rules first.
Do not leave painted rocks, craft decorations, or other art behind. A campsite should not become an outdoor display area for materials visitors brought with them.
Craft Safety at the Campsite
A few simple choices make campsite crafts easier to manage.
Use Art Materials Intended for Children
CPSC recommends reading labels and choosing products intended for children’s use. Its Art and Craft Safety Guide also recommends close adult supervision, keeping food and drinks away from the art area, washing hands after art activities, and avoiding inappropriate solvents or other hazardous materials for younger children.
Do not assume that “non-toxic” means a product can be used in any way. Follow the product’s instructions.
Match Tools to the Child
Children vary widely in coordination and experience.
Adults should decide whether a child can safely use:
- Scissors.
- Small fasteners.
- Glue.
- Markers.
- Paint.
- Other small craft components.
Younger children may need direct adult assistance rather than simply being handed the entire art kit.
Keep Craft Supplies Away From Cooking and Fire Areas
Paper, cardboard, glue, and other craft supplies should not be spread near:
- Campfires.
- Grills.
- Camping stoves.
- Hot cookware.
- Lanterns that become hot.
Choose a separate work area whenever possible.
Keep Small Pieces Contained
Wind can turn a tiny paper triangle or marker cap into campsite litter within seconds.
A shallow box, organizer, zip pouch, or clipboard can help keep materials controlled.
Before leaving, check beneath:
- The picnic table.
- Chairs.
- Tent edges.
- Nearby ground.
Wash Hands Before Eating
Children may touch tables, trees, soil, art supplies, and other outdoor surfaces during a craft session.
Have them wash or clean their hands appropriately before eating.
Rainy-Day Camping Crafts Need a Weather Plan
Drawing, paper crafts, and journaling can be useful during ordinary wet weather when you have an appropriate dry place.
A thunderstorm is different.
The National Weather Service specifically says that tents and open-sided picnic shelters are not safe lightning shelters. When thunder is heard and a safe location is available, campers should move to a substantial building or enclosed hard-topped vehicle and wait until at least 30 minutes after the final thunder before returning outside.
So if children are crafting at a picnic shelter and thunder begins:
- Stop the activity.
- Gather people rather than worrying about finishing the craft.
- Move to appropriate lightning shelter.
- Resume the project only after conditions are safe.
Do not treat an outdoor covered picnic table as a thunderstorm activity area.
How to Keep Camping Crafts Low-Mess
The easiest craft to clean up is the one designed with cleanup in mind.
Try these strategies:
- Use crayons or colored pencils before paint.
- Bring only the colors you expect to use.
- Portion supplies at home.
- Choose glue sticks instead of liquid glue when practical.
- Skip loose glitter.
- Open one supply container at a time.
- Place paper beneath paint projects.
- Keep scissors, markers, and glue in one organizer.
- Count reusable tools before packing up.
- Carry a dedicated scrap bag.
- Check the ground after every project.
If you bring paint, keep it on your own paper and equipment. Do not wash paint onto soil, rocks, trees, streams, or campground furniture.
Fit Crafts Around the Camping Trip
Crafts work best as one part of the day rather than the entire reason children remain at the campsite.
Natural times for a short project include:
- After breakfast.
- During an afternoon rest period.
- While another adult prepares a meal.
- During calm campsite downtime.
- Before an evening activity.
- During ordinary light rain when a genuinely safe dry space is available.
A simple drawing can also help during a day when children need a break after hiking, swimming, sightseeing, or other outdoor activities.
Try not to pack so many planned projects that children have no time to explore the environment that inspired the crafts in the first place.
If crafts are one part of a multi-stop family trip, our road trip camping planning guide can help you organize travel days, campsites, weather checks, and backup plans around the activities you want to do.
Common Camping Craft Mistakes
Packing Too Many Supplies
You do not need materials for every activity in this article.
Choose a few projects that share the same crayons, paper, scissors, and glue.
Assuming Natural Materials Are Free Craft Supplies
A fallen pinecone or interesting rock may still be part of a protected environment.
Check local rules or leave it in place and use it as drawing inspiration instead.
Leaving Painted Rocks Outdoors
Painting a rock at home does not make leaving it at a campground harmless.
Bring your finished projects home.
Bringing Glitter
Loose glitter is difficult to recover outdoors.
Paper shapes, crayons, and colored pencils create less cleanup risk.
Attaching Crafts to Trees
Do not staple, nail, carve, tape, or tie decorations onto living trees.
Keep crafts on your own table or equipment.
Using Food to Attract Wildlife
Skip campsite crafts involving birdseed, peanut butter, or other food intended to attract wildlife.
Feeding or attracting wildlife can conflict with responsible camping practices and local regulations.
Choosing Projects That Need Constant Adult Assembly
If adults need 20 minutes to prepare every five-minute activity, the craft is not very camping-friendly.
Choose projects children can meaningfully participate in.
Starting a Paint Project Right Before Departure
Paint, glue, and wet paper need time to dry.
Choose a drawing or postcard instead when breaking camp soon.
Ignoring Wind
A gust can scatter paper pieces quickly.
Use clipboards, containers, and heavier paper when conditions are breezy.
Treating a Picnic Shelter as Lightning Protection
It may keep paper dry in light rain, but an open picnic shelter is not safe during a thunderstorm.
Frequently Asked Questions
What are easy camping art activities for kids?
Easy camping art activities include nature journals, color hunts, campsite postcards, paper tent collages, sky drawings, memory maps, forest silhouettes, and end-of-trip memory pages. The most practical options use the same small set of crayons, pencils, paper, glue, and child-appropriate scissors, so parents do not need to pack a large craft box.
What camping crafts can kids make without collecting nature?
Kids can sketch leaves and rocks where they find them, make bark-pattern drawings, photograph natural shapes and draw them later, create nature color palettes, keep a campsite journal, design paper campfires, or make forest collages from supplies brought from home. These activities allow children to use nature as inspiration without removing it.
What art supplies should I bring camping with kids?
A small kit can include paper, cardstock, a sketchbook, crayons, colored pencils, washable markers, glue sticks, child-appropriate scissors, a clipboard, and recycled cardboard. Keep everything in one organizer and include a small bag for scraps. Choose children’s art materials with appropriate labeling and follow the manufacturer’s age and safety instructions.
Can kids collect leaves, rocks, or pinecones for camping crafts?
Do not assume they can. Collection rules vary by location, and many parks protect natural objects. National Park Service Leave What You Find guidance recommends leaving natural items—including rocks, pinecones, leaves, flowers, and feathers—in place. Check the specific park or land manager before collecting anything.
What camping crafts work on a rainy day?
Drawing, postcards, paper collages, journals, story illustrations, and cardboard crafts can work during light rain if you have an appropriate dry space. If thunder is present, stop the outdoor activity. The National Weather Service says tents and open picnic shelters are not safe lightning shelters; move to a substantial building or hard-topped vehicle when available.
Conclusion
The most practical camping art activities do not require a box full of supplies or a collection of objects taken from the campsite. Paper, crayons, pencils, a little cardboard, and close observation can support dozens of creative ideas.
Choose three or four activities before your trip, pack them into one small craft pouch, and let the landscape provide the inspiration while natural objects stay where they belong.
References:
- U.S. Consumer Product Safety Commission — Art Materials
CPSC Art Materials guidance - U.S. Consumer Product Safety Commission — Children’s Products
CPSC Children’s Products guidance - U.S. Consumer Product Safety Commission — Art and Craft Safety Guide
CPSC Art and Craft Safety Guide - National Park Service — I Didn’t Know That!: Leave No Trace Principle #4 — Leave What You Find
NPS Leave What You Find guidance - National Weather Service — When a Safe Building or Vehicle Is Nearby
NWS outdoor lightning safety guidance