
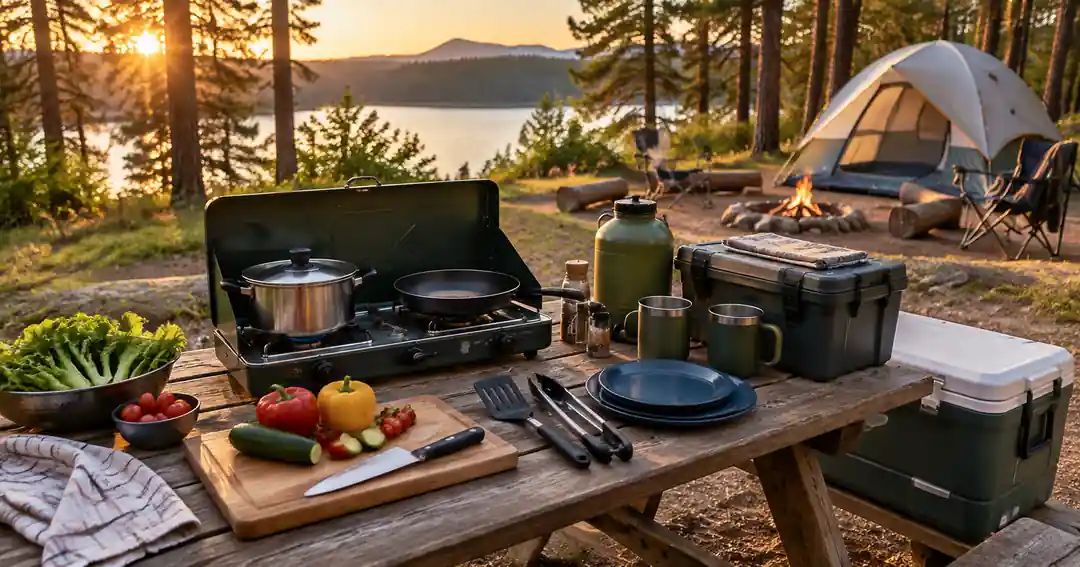
Camp Kitchen Checklist: Essentials for Cooking Outdoors
A camp kitchen checklist should make outdoor cooking simpler, not turn your campsite into a second home kitchen. Start with the meals you plan to make, then pack only the heat source, cookware, prep tools, eating gear, food storage, water, and cleanup supplies those meals require.
For most frontcountry trips, the best system is straightforward: plan the menu first, pack the kitchen second. That approach helps you avoid forgotten essentials, duplicate cookware, and bins full of gear you never use.
Table of Contents
Camp Kitchen Checklist: Start With the Meals You Will Cook
Before packing a stove, pan, spatula, or coffee maker, decide what you are actually eating.
Ask four questions:
- How many people are eating?
- Which meals require cooking?
- Will you be boiling, frying, grilling, or reheating?
- Which ingredients need cold storage?
If you have not chosen your meals yet, start with our simple 3-day camping meal plan and use each meal to identify the stove, cookware, cooler space, and utensils you actually need.
This menu-first approach keeps your camp kitchen checklist practical. Oatmeal, sandwiches, and one-pot pasta need a much smaller setup than pancakes, grilled food, and multiple side dishes.
Separate Core Essentials From Optional Gear
Core equipment performs one of these jobs:
- Cooks food.
- Prepares food.
- Lets you eat and drink.
- Stores food safely.
- Supplies water.
- Handles cleanup and waste.
Everything else is optional until your menu gives it a job.
A Dutch oven, griddle, specialty coffee maker, folding kitchen cabinet, or extra serving bowl can be useful. None is automatically required for a basic camping trip.
Camp Kitchen Checklist: Essential Cooking and Prep Gear
The cooking section of a camp kitchen checklist starts with a legal, reliable heat source.
Camp Stove, Fuel, and Ignition
For most developed campground trips, pack:
- A camp stove appropriate for your group and meals.
- The correct fuel for that stove.
- A lighter or matches as backup ignition.
Do not make an essential dinner depend on a campfire. The National Park Service advises campers to decide in advance whether they will use a stove or open fire and to practice with unfamiliar stoves before the trip. Fire availability and restrictions vary by destination.
Before leaving home, check the current campground or land-manager rules for campfires and stove use.
Pots and Pans
Choose cookware based on the menu.
You may need:
- One pot with a lid.
- One frying pan if your meals require frying.
- A second pot only for meals that genuinely need simultaneous cooking.
If breakfast is oatmeal and dinner is one-pot pasta, one pot may be enough. If you are making pancakes or eggs, a frying pan becomes much more useful.
Safe Pot Handling
Bring one appropriate way to handle hot cookware:
- Integrated pot handle.
- Pot gripper.
- Heat-resistant glove or pot holder.
The best choice depends on your cookware design. Do not improvise with a towel near a flame if your pot already requires a proper gripper or locking handle.
Basic Prep Tools
For many simple car-camping menus, the useful prep kit is small:
- Sharp knife.
- Cutting board.
- Large spoon.
- Spatula if frying.
- Tongs if grilling.
- Can opener when your food requires one.
A whisk, peeler, measuring cups, or mixing bowl belongs on the list only when the menu needs it.
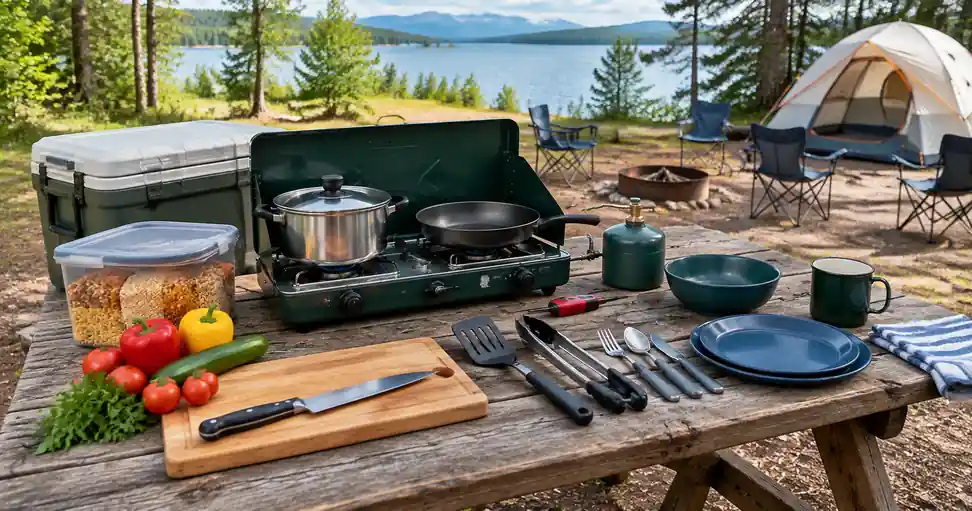
Camping Cookware Checklist: Match the Gear to the Meal
A camping cookware checklist should follow the cooking method rather than copy a home kitchen.
Boiling and Reheating
For oatmeal, pasta, soup, couscous, or reheating a prepared meal, you may need only:
- Pot.
- Lid.
- Spoon.
- Stove.
That is the simplest setup and usually the easiest to clean.
Frying
Add a skillet and spatula if you plan to make:
- Eggs.
- Pancakes.
- Quesadillas.
- Sautéed vegetables.
If you are not frying anything, leave the skillet at home.
Grilling
Grilling equipment is meal-dependent and destination-dependent.
You may need:
- Approved grill or campground grate.
- Tongs.
- Heat-safe utensils.
Do not assume a fire ring guarantees that charcoal or open-flame cooking will be allowed during your trip.
Larger Group Meals
A larger group may justify:
- Bigger pot.
- Larger skillet.
- Serving spoon.
- Additional prep surface.
It does not automatically require duplicate cookware for every camper.
Plates, Bowls, Cups and Camping Utensils
For most trips, plan one functional eating setup per person.
That might include:
- One plate or bowl.
- One mug or cup.
- Fork, spoon, knife, or spork.
- Reusable water bottle.
A bowl often handles more jobs than a flat plate because it can hold oatmeal, chili, pasta, cereal, or soup. If every meal works in a bowl, you may not need both.
Reusable tableware generally creates less campsite trash than disposable dishes, but you need a practical washing plan.
Avoid packing extra place settings “just in case” unless your group or guest plans actually justify them.
Camp Kitchen Checklist: Food Storage and Cooler Gear
Food storage is part of the kitchen system, not a separate afterthought.
Cooler and Cold Source
If you are bringing perishable food, include:
- Cooler.
- Ice, block ice, or frozen gel packs.
- Watertight containers or sealed bags.
- Cooler thermometer when you want an objective temperature check.
USDA guidance says most bacteria grow rapidly between 40°F and 140°F (4.4°C and 60°C). Perishable food should not remain in that range for more than two hours, or more than one hour when the temperature is 90°F (32°C) or above. USDA also recommends packing cold or frozen food with a reliable cold source and keeping the cooler shaded when practical.
For car camping, a cooler is one of the most important camping kitchen essentials when your menu includes meat, dairy, cooked leftovers, cut produce, or other perishables.
Keep Raw Food Separate
If you bring raw meat or poultry, store it so juices cannot leak onto ready-to-eat food.
USDA recommends keeping raw foods separate and, when one cooler is used, packing raw meat or poultry below ready-to-eat foods.
Dry Food Storage
A simple dry-food bin can hold:
- Bread or tortillas.
- Oats.
- Pasta.
- Canned foods.
- Spices.
- Cooking oil.
- Snacks.
- Shelf-stable ingredients.
Use sealed containers or resealable bags to reduce spills and keep the kitchen organized.
Wildlife-Safe Storage
An ordinary storage tote is not automatically wildlife-safe.
The National Park Service notes that food, liquid containers, scraps, and scented items can attract animals and advises campers to follow the specific campground’s food-storage regulations.
In some areas, the rules may require a food locker, vehicle storage, or an approved bear-resistant container. Check the exact destination rules before departure instead of relying on one generic storage method.
Water for Cooking, Drinking and Cleaning
Your camp kitchen checklist needs a water plan.
Confirm Potable Water Before the Trip
Do not assume every campground faucet provides potable water.
If potable water is available, confirm:
- Where it is located.
- Whether it is operating during your travel dates.
- Whether there are any current advisories.
If potable water is unavailable, bring enough safe water or use an appropriate treatment method for the destination and water source.
USDA advises campers not to depend on lake or stream water for drinking, meal preparation, or cleaning simply because it looks clear.
Bring a Water Container
For frontcountry camping, a refillable water jug can simplify:
- Drinking.
- Cooking.
- Handwashing.
- Dishwashing.
A container with a controlled spout can also make it easier to avoid wasting water at camp.
Camp Kitchen Setup: Organize It Into Simple Modules
A good camp kitchen setup reduces time spent searching through bins.
One practical system uses four modules.
1. Cooking Tote
Store:
- Stove accessories.
- Cookware.
- Prep tools.
- Eating utensils.
- Plates, bowls, and mugs.
2. Dry Food Bin
Store shelf-stable ingredients, snacks, cooking oil, spices, and sealed pantry items.
3. Cooler
Use the cooler only for foods and drinks that need cold storage.
Keeping crackers, dry snacks, and cookware out of the cooler reduces unnecessary opening.
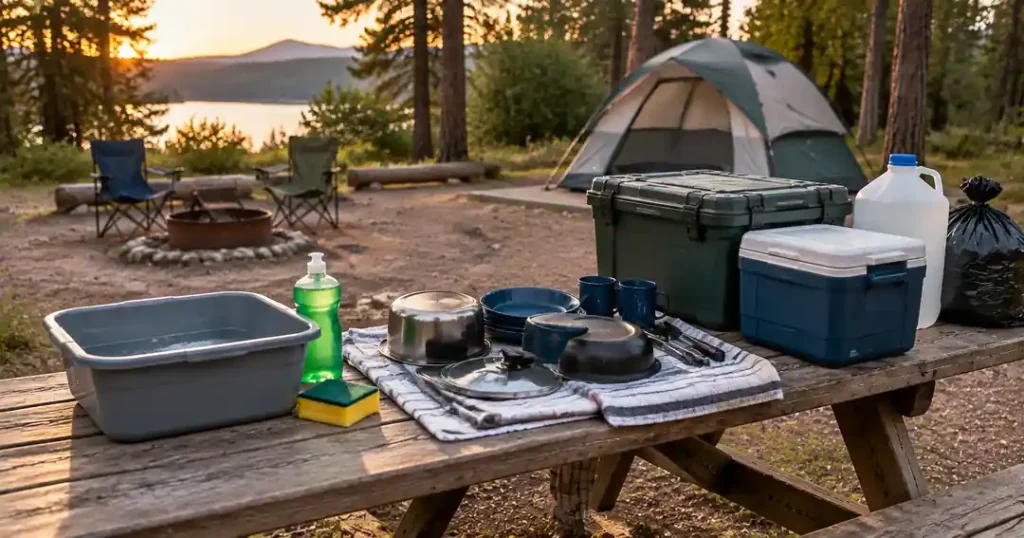
4. Water and Cleanup Kit
Group:
- Water jug.
- Wash basin.
- Soap.
- Sponge or scrubber.
- Towels.
- Trash and recycling bags.
This is an organization suggestion, not a safety rule. Adjust it to the storage space and group size you actually have.
Camp Kitchen Checklist: Cleanup and Waste Supplies
Cleanup belongs on the camp kitchen checklist before the first meal is cooked.
Handwashing Supplies
Bring:
- Potable water.
- Soap.
- Clean towel or appropriate drying option.
- Hand sanitizer as a backup where useful.
USDA recommends cleaning hands before and after handling food and says sanitizer should contain at least 60% alcohol when soap and water are unavailable.
Dishwashing Supplies
For a developed campsite, useful supplies can include:
- Wash basin.
- Biodegradable soap.
- Sponge or pot scrubber.
- Quick-dry towel.
NPS guidance for frontcountry camping describes a wash-rinse-sanitize process and emphasizes cleaning the cooking area promptly.
Wastewater rules vary by campground, so follow the local instructions rather than assuming one disposal method is allowed everywhere.
Food Scraps
Do not leave scraps:
- On the ground.
- On the picnic table.
- In or around the fire ring.
- Beside the trash container.
The National Park Service specifically advises keeping camps free of scraps and food packaging that could attract wildlife.
Trash and Recycling
Bring enough bags to:
- Separate trash.
- Hold recycling when practical.
- Secure waste until it reaches an approved disposal location.
If the campground requires pack-out, plan enough secure storage to keep waste contained until you leave.
Lighting and Small Items People Commonly Forget
A few small pieces of camp cooking equipment can prevent frustrating meal problems.
Consider:
- Lantern or headlamp.
- Backup lighter or matches.
- Can opener.
- Bottle opener if required.
- Reusable cloth or paper towels.
- Resealable bags.
- Leftover containers.
- Food thermometer when cooking temperature-sensitive foods.
USDA recommends using a food thermometer rather than judging meat or poultry by color alone.
Do not add every small gadget you own. Add the ones required by the actual menu.
Minimal Camp Kitchen Checklist for a Simple Weekend
For a basic one- or two-night frontcountry trip, this camp kitchen checklist covers the main functions.
Cook
- Camp stove
- Correct fuel
- Lighter or matches
- Pot and/or pan
- Lid
- Pot-handling tool
- Essential cooking utensil
Prep
- Knife
- Cutting board
- Can opener if needed
Eat and Drink
- Plate or bowl per person
- Eating utensil per person
- Cup or mug
- Water bottle
Store Food
- Cooler if required
- Ice or frozen cold source
- Dry-food container
- Resealable bags or food containers
- Destination-approved wildlife storage where required
Water and Cleanup
- Potable-water supply or confirmed campground source
- Water jug
- Wash basin
- Soap
- Sponge or scrubber
- Quick-dry towel
- Trash bags
This is the core list. Add equipment only when the meals or group size require it.
Family Camp Kitchen Add-Ons
A family camp kitchen checklist usually grows in capacity before it grows in complexity.
Useful additions may include:
- Larger cookware.
- More drinking-water capacity.
- Bigger cooler or additional cold-storage space.
- More food containers.
- Serving spoon.
- Additional wash basin.
- Brighter table lighting.
Share cookware and serving tools where practical instead of multiplying every pan and utensil by the number of campers.
For children, keep hot cookware, stove fuel, knives, and ignition sources out of reach and follow the safety instructions for the specific stove and campground.
Common Camp Kitchen Packing Mistakes
Even a long camp kitchen checklist will not help if the planning process is wrong.
Avoid these mistakes:
- Packing gear before choosing meals.
- Forgetting stove fuel.
- Forgetting a lighter or matches.
- Packing several pots for one-pot meals.
- Bringing cans without a can opener.
- Bringing perishables without a reliable cold-storage plan.
- Assuming campground water is potable.
- Leaving wildlife-storage planning until arrival.
- Depending on a campfire for every cooked meal.
- Packing a complicated recipe without the tools needed to make it.
- Forgetting cleanup supplies.
- Leaving food scraps or dirty cookware exposed overnight.
- Bringing optional gadgets that have no job on the menu.
Camp Kitchen Checklist: Final Check Before Leaving Home
Use this final camp kitchen checklist before loading the vehicle:
- Meals are finalized.
- Group size is confirmed.
- Stove has been checked.
- Correct fuel is packed.
- Ignition is packed.
- Cookware matches the meals.
- Prep tools match the meals.
- Eating gear matches the number of campers.
- Perishable food has a reliable cold-storage plan.
- Raw food can be kept separate.
- Potable water is confirmed.
- Wildlife food-storage rules have been checked.
- Fire and stove restrictions have been checked.
- Handwashing supplies are packed.
- Dishwashing supplies are packed.
- Trash and recycling bags are ready.
- Optional gear has been removed unless the menu actually uses it.
The goal is not to bring more. It is to arrive with everything that has a clear job.
Frequently Asked Questions
What Should Be on a Camp Kitchen Checklist?
A camp kitchen checklist should cover seven functions: cooking, food preparation, eating and drinking, cold and dry food storage, potable water, cleanup, and waste. Start with a stove and fuel, appropriate cookware, essential prep tools, one eating setup per camper, food storage, water, and cleaning supplies, then add meal-specific equipment.
What Are the Most Important Camping Kitchen Essentials for Beginners?
Start with a camp stove and fuel, pot or pan matched to the menu, knife and cutting board, basic cooking utensil, plate or bowl, eating utensils, cooler when needed, potable water, food-storage containers, wash supplies, and trash bags. A beginner does not need a large collection of specialty camp-kitchen gadgets.
Do I Need a Camp Stove if My Campsite Has a Fire Ring?
A stove is still a useful primary cooking method because a fire ring does not guarantee that campfires will be permitted, practical, or available during your stay. Restrictions can change because of local rules or fire conditions. Check the current land-manager rules and make sure your meal plan still works without an open fire.
What Cookware Do I Need for a Simple Camping Trip?
Match cookware to the meals. Boil-only or one-pot meals may require just one pot and lid. Add a skillet only if you plan to fry food, and add larger cookware only when group meals require the capacity. Packing cookware from the menu outward prevents unnecessary weight, bulk, and cleanup.
How Should I Organize a Camp Kitchen?
A simple system is to use four modules: one tote for cooking and eating gear, one bin for dry food, one cooler for perishables, and one water-and-cleanup kit. Keep frequently used items accessible and avoid mixing dry pantry items into the cooler, where they create unnecessary opening and clutter.
Conclusion
A useful camp kitchen checklist begins with the food you intend to prepare.
Plan the meals first. Then identify the legal cooking method, cookware, prep tools, eating gear, food storage, water, and cleanup system required to make those meals work.
For a simple campground trip, that approach usually produces a smaller and more reliable kitchen than copying a giant universal gear list. Before departure, recheck food-storage rules, fire or stove restrictions, potable-water availability, and campground cleanup requirements for your specific destination.
References
- U.S. Department of Agriculture, Food Safety and Inspection Service — Food Safety While Hiking, Camping & Boating
Food Safety While Hiking, Camping & Boating - National Park Service — Cooking in Camp
Cooking in Camp - REI Co-op — Camp Kitchen Checklist
Camp Kitchen Checklist