
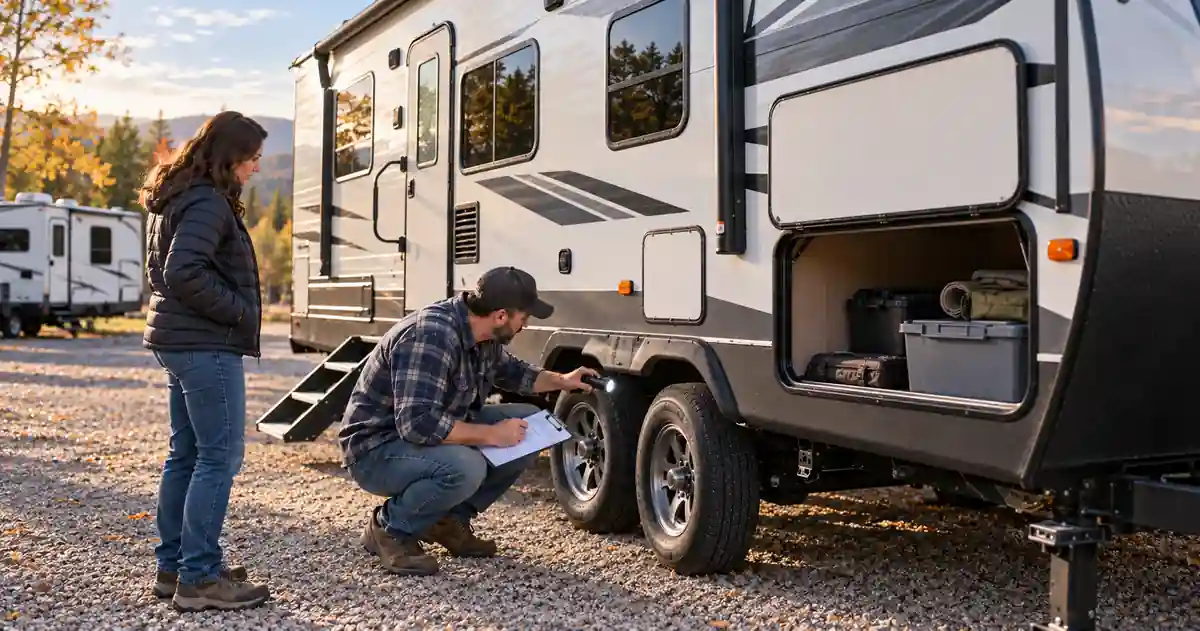
Camper Inspection Checklist: What to Check Before You Buy
A camper inspection checklist should help you find expensive or purchase-changing problems before you become distracted by clean upholstery, upgraded cabinets, or attractive décor. Start with the paperwork and signs of water damage, then work through the structure, tires, running gear, utilities, appliances, and safety equipment.
Use this camper inspection checklist as a first-pass buyer inspection, not as a substitute for specialist testing. If you find hidden moisture, structural damage, repeated electrical faults, propane concerns, or major motorhome mechanical issues, pause the purchase until the problem has been evaluated properly.
For towable campers, focus on the trailer structure and running gear. For a motorhome, add a separate engine, transmission, chassis, brake, and steering inspection.
Table of Contents
Camper Inspection Checklist: Verify the Camper and Paperwork First
Before inspecting appliances or opening cabinets, make sure the RV is actually the unit described by the seller.
Match the VIN and Identification
Locate the vehicle identification number or manufacturer identification information and compare it with:
- The title.
- Registration where applicable.
- Seller paperwork.
- Manufacturer information.
- Any service records tied to the unit.
A VIN or ownership-document mismatch should be resolved before the purchase proceeds.
Your camper inspection checklist should also include photographs of the VIN and important data plates so you can verify information later without relying on handwritten notes.
Check for Current Safety Recalls
Use the official NHTSA recall search when the vehicle or equipment is covered by its database.
NHTSA states that a VIN or license-plate search can identify unrepaired recalls for vehicles from certain manufacturers. A result showing zero unrepaired recalls means none are associated with that VIN in the applicable search—not that the RV has never had a recall, received every required repair, or has no other defects.
Record any open recall and ask whether the repair can be completed before delivery.
Understand What the RVIA Seal Means
You may find an RV Industry Association seal on the unit.
RVIA says the seal represents a member manufacturer’s certification that the RV was built to the standards adopted by the association and that the manufacturer participates in periodic compliance audits. The association’s current standards program covers construction areas including electrical, plumbing, heating, fire, life-safety, and structural requirements.
That is useful manufacturing information, but it is not a certificate that a used RV is still in good condition today. Years of leaks, repairs, tire aging, owner modifications, or neglected appliances can occur after manufacture.
Ask for Maintenance and Repair Records
Useful records can include:
- Roof inspections or resealing.
- Previous leak repairs.
- Tire replacements.
- Brake or bearing service.
- Battery replacement.
- Generator service.
- Slide repairs.
- Refrigerator or furnace work.
- Air-conditioner repairs.
- Collision or body repairs.
Ask specifically whether the camper has ever leaked, not merely whether it leaks now.
A seller who repaired a leak correctly may have useful documentation. A vague history combined with stains, new wall panels, or fresh sealant deserves closer inspection.
Camper Inspection Checklist for Roof, Walls and Water Damage
Water intrusion belongs near the top of a camper inspection checklist because it can affect much more than appearance. A failed exterior seal can lead to damaged insulation, wall materials, roof decking, floors, and framing.
NRVIA’s used-RV guidance recommends checking roof damage and deteriorated sealant, sidewall bubbling or rippling, window and door seals, ceiling and wall discoloration, soft flooring, cabinets, closets, and musty odors when screening for water damage.
Inspect the Roof From a Safe Position
Look for:
- Cracked or deteriorated sealant.
- Tears or punctures.
- Loose roofing material.
- Previous patches or repair tape.
- Damage around vents.
- Skylight seals.
- Antenna or solar-panel penetrations.
- Air-conditioner openings.
- Front and rear cap seams.
NRVIA also recommends looking for previous roof repairs, membrane problems, damaged attachments, and soft areas.
Do not assume that an attached ladder means you can safely walk anywhere on the roof. Check manufacturer guidance and the ladder’s condition and capacity. If safe roof access is uncertain, inspect from the ground or have a professional do it.
Check Exterior Walls for Delamination
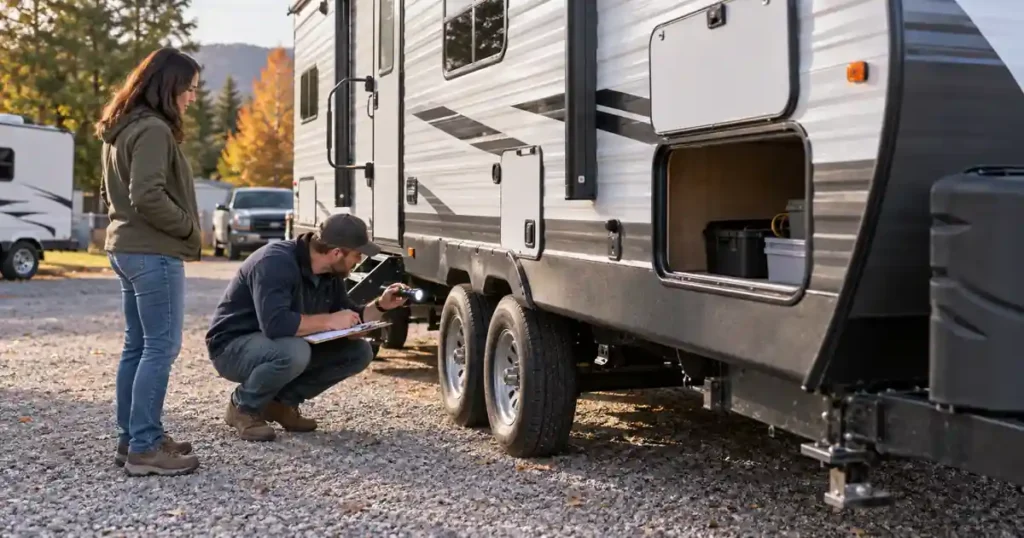
Walk around the RV in good daylight and look along the sidewalls from several angles.
Watch for:
- Bulges.
- Ripples.
- Sections separating from the underlying structure.
- Impact repairs.
- Cracks.
- Unusual waves around windows or corners.
Not every visual imperfection proves serious structural damage, but suspicious delamination combined with moisture evidence deserves professional evaluation before you make an offer.
Check Windows, Doors and Storage Compartments
Look closely at:
- Window sealant.
- Door frames.
- Storage-bay openings.
- Exterior access panels.
- Corner joints.
- Slide seals.
Open exterior storage bays and inspect the interior corners for staining or swelling.
Inspect the Interior for Water Damage
Inside, use your eyes, nose, and hands.
Look for:
- Ceiling stains.
- Discoloration around windows.
- Swollen wall panels.
- Peeling coverings.
- Musty odors.
- Soft flooring.
- Flooring that feels different near walls or plumbing.
- Damage under mattresses.
- Staining inside cabinets.
- Swollen wood beneath sinks.
- Signs that one area has been recently rebuilt.
One stain does not automatically tell you the extent of a problem. Several connected symptoms—such as deteriorated roof sealant, wall staining, and a soft floor—justify a deeper RV water damage inspection.
Should You Use a Moisture Meter?
A moisture meter can be a useful screening tool when you inspect a used camper, but it should not be treated as a universal pass/fail device.
Wall materials, construction methods, meter types, metal behind the wall, and calibration can affect readings. Use suspicious readings to identify areas that deserve more investigation rather than declaring structural damage from one number alone.
Camper Inspection Checklist for Tires, Frame and Running Gear
A camper inspection checklist should cover every tire, not just the easiest sidewall to see.
Inspect Every Tire
Check for:
- Cracking.
- Bulges.
- Cuts.
- Uneven wear.
- Embedded damage.
- Unusual sidewall condition.
- Incorrect-looking size or load specification.
- Low inflation.
- Damage to the spare tire.
Do not judge an RV tire only by tread depth.
Record the DOT Tire Date
NHTSA explains that the final four digits of the DOT Tire Identification Number show the week and year of manufacture. For example, a code ending in 3523 means the tire was manufactured in the 35th week of 2023.
The full date code may appear on only one sidewall, so an inward-facing tire can make it difficult to see.
NHTSA also notes that tires become more failure-prone as they age and that some vehicle and tire manufacturers recommend replacement at six to ten years regardless of treadwear. That is not a universal replacement rule. Check the RV and tire manufacturer’s guidance for the specific tires you are evaluating.
Inspect the Frame and Underbody
From a safe position, look for:
- Significant corrosion.
- Bent frame components.
- Cracks.
- Questionable welding or repair.
- Impact damage.
- Hanging wiring.
- Damaged plumbing.
- Loose tanks or supports.
- Fluid leaks on motorized RVs.
Never crawl under an RV supported only by a jack or leveling system.
Towable Camper Checks
For a travel trailer or fifth wheel, visually inspect:
- Coupler or kingpin.
- Safety chains.
- Breakaway equipment.
- Tongue jack or landing gear.
- Stabilizers.
- Visible suspension components.
- Brake wiring.
- Wheel condition.
A visual inspection cannot confirm the internal condition of wheel bearings or brakes. If service history is missing or anything looks questionable, include professional mechanical inspection in the purchase process.
Motorhome Checks
A motorhome needs two inspections:
- The RV “house.”
- The motor vehicle underneath it.
Add:
- Engine service history.
- Transmission.
- Chassis brakes.
- Steering.
- Suspension.
- Cooling system.
- Fluid leaks.
- Starting/charging system.
- Road-test behavior.
A professional RV inspection may not include a full automotive or diesel chassis diagnosis, so ask about scope before assuming one inspection covers everything.
Check Slides, Awnings, Doors and Exterior Equipment
Operate every major moving system if the seller permits it.
For slide-outs, look for:
- Smooth extension and retraction.
- Abnormal noises.
- Uneven movement.
- Damaged seals.
- Gaps when closed.
- Water staining around the opening.
- Floor damage beside the slide.
- Evidence of previous adjustment or repair.
NRVIA includes slide alignment and sealing among important used-RV inspection concerns because misalignment can affect sealing and allow water intrusion.
Also test normal operation of:
- Awning.
- Entry steps.
- Exterior storage doors.
- Exterior lighting.
- Leveling system when equipped.
Never stand beneath a moving slide or leveling system.
Camper Inspection Checklist for Electrical, Plumbing and Propane Systems
Utility systems can turn an inexpensive-looking RV into an expensive project.
Use your camper inspection checklist to operate normal controls and look for obvious defects, but stop before invasive electrical or propane diagnostics.
Check 12-Volt Systems
With the RV operating normally, check items such as:
- Interior lights.
- Vent fans.
- Water pump.
- Control panels.
- Slides where 12V-powered.
- USB or 12V outlets where fitted.
Look at the battery compartment for obvious:
- Corrosion.
- Physical battery damage.
- Loose mounting.
- Damaged cables.
- Improvised wiring.
Determining actual battery capacity and health may require proper testing.
Check Shore-Power Equipment
When connected to suitable shore power, test normal owner-operated equipment.
Check:
- Interior receptacles.
- GFCI operation using the built-in test function where applicable.
- Air conditioner.
- Converter/charger behavior.
- Microwave if fitted.
- Other 120V appliances.
Do not remove energized electrical-panel covers or probe live wiring during a buyer walkthrough.
Run the Plumbing System
With the seller’s permission, operate:
- Kitchen faucet.
- Bathroom faucet.
- Shower.
- Toilet.
- Water pump when appropriate.
While water is running, inspect:
- Under sinks.
- Around the toilet.
- Near the water heater.
- Inside accessible plumbing compartments.
- Floor areas around wet systems.
A clean cabinet can hide a small active leak, so check while the system is actually pressurized.
Look at Tanks and Drain Components
From a safe position, inspect visible:
- Waste valves.
- Plumbing.
- Tank supports.
- Drain lines.
- Repairs.
- Evidence of freeze damage.
Do not dump tanks merely to “test” them unless you are at an appropriate facility and the seller has authorized it.
Keep Propane Testing Professional
You can operate propane appliances through their normal user controls when the seller permits it, but a proper LP-system evaluation can involve pressure and leak testing.
RVIA’s standards program includes detailed fuel, plumbing, electrical, heating, and life-safety requirements during manufacturing compliance work, underscoring that a complete systems evaluation goes well beyond a casual visual check.
Do not attempt to bypass regulators, open gas components, or perform an improvised leak-pressure test during a purchase walkthrough.
Test the Major Camper Appliances
A display that lights up does not prove an appliance works.
Allow enough operating time to observe meaningful performance where practical.
Refrigerator
Test the modes supported by the specific refrigerator when seller-approved.
Look for:
- Normal startup.
- Error codes.
- Cooling response.
- Door-seal condition.
- Interior damage.
Do not assume a refrigerator is functional because its control panel illuminates.
Furnace
Operate it through normal controls.
Confirm:
- Startup.
- Fan operation.
- Heat output.
- Normal shutdown.
Stop if you notice a strong propane odor, smoke, or obviously unsafe operation.
Water Heater
Check normal operation through the user controls and look for visible leaks.
Do not remove burner or electrical covers for a buyer-level test.
Air Conditioner
Run the installed AC long enough to check:
- Fan operation.
- Airflow.
- Cooling.
- Abnormal noise.
- Interior water leakage.
If the installed system is missing or unsuitable and you are considering a supplemental option for a smaller trailer, our portable AC for camping guide explains the power, venting, battery, and cooling trade-offs before buying another system.
Generator
If equipped, record:
- Hour-meter reading.
- Startup behavior.
- Maintenance history.
- Noise or vibration that seems abnormal.
- Whether it supports normal RV loads during the demonstration.
Internal generator diagnosis is outside the scope of a buyer walkthrough.
Check the Safety Equipment
A camper inspection checklist should include life-safety devices, not just comfort systems.
Check the presence and condition of:
- Smoke alarm.
- Carbon monoxide alarm.
- LP gas detector where equipped.
- Fire extinguisher.
- Emergency-exit windows.
Look for manufacturer date information and replacement instructions where relevant.
An alarm physically attached to a wall is not proof that it is current or functional.
Does This Camper Fit the Way You Actually Camp?
A camper can pass a pre purchase RV inspection and still be the wrong camper for you.
Before buying, ask:
- Will it fit the campsite lengths you normally book?
- Do your preferred campgrounds provide the hookups it needs?
- Can your tow vehicle handle the loaded trailer within all applicable ratings?
- Is the fresh-water capacity realistic for your trips?
- Can you store your actual camping equipment?
- Will the height and length complicate the roads you want to travel?
- Are you comfortable setting it up repeatedly?
Before buying a larger camper simply for extra interior space, use our road trip camping planning guide to think through campsite dimensions, hookups, road access, fuel stops, route conditions, and backup camping options.
Camper Inspection Checklist: When to Hire a Professional Inspector
Even a thorough DIY camper inspection checklist has limits.
A professional inspection is especially worth considering when:
- This is your first RV.
- The unit is expensive.
- You see evidence of previous water intrusion.
- There are several slide-outs.
- The electrical system has been modified.
- Solar, lithium batteries, or a large inverter system has been added.
- A generator is installed.
- You have propane concerns.
- You are buying remotely.
- Seller claims cannot be verified.
- The RV is a motorhome with complex house systems.
NRVIA’s current Standards of Practice describe its inspections as objective condition reporting and explain that inspections are generally visual and non-destructive. Concealed or inaccessible areas may not be inspected, and the inspection is not a warranty or guarantee.
That limitation is important: even a professional RV inspection cannot see every hidden cavity without destructive work.
Ask What the Inspection Includes
Before hiring an inspector, ask for:
- A contract.
- Inspection scope.
- Points of inspection.
- Sample report.
- Price.
- Travel or mileage fee.
- Whether fluid analysis is available.
- Whether the motorhome chassis is included.
- Whether specialized solar or battery systems are included.
NRVIA specifically advises consumers to request a sample report and the inspector’s points-of-inspection list before hiring.
Dealer PDI vs. Independent Inspection
A dealer pre-delivery inspection and an independent buyer inspection have different purposes.
A PDI can help a dealer prepare a vehicle for delivery and identify items needing correction.
An independent professional RV inspection is commissioned by the buyer to document current condition and defects.
That does not mean every dealer inspection is poor. It means buyers should understand who the inspection is for and exactly what its report covers.
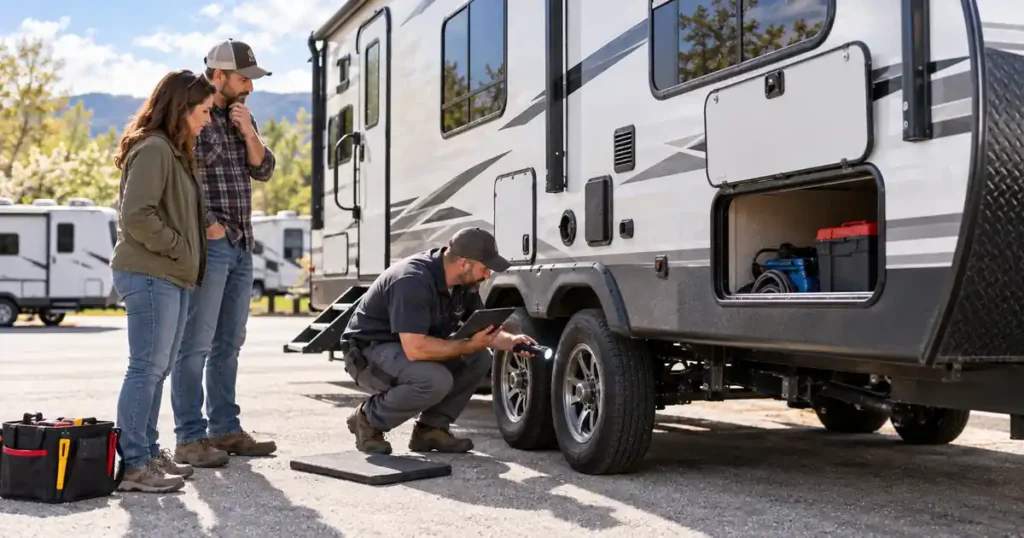
Turn the Camper Inspection Checklist Into a Buy, Negotiate or Pause Decision
The point of a camper inspection checklist is not to find a flawless RV. Used campers normally show wear.
Sort findings into three groups.
Normal Maintenance or Minor Issues
Examples might include:
- Cosmetic scratches.
- Worn cabinet hardware.
- Minor trim damage.
- Routine cleaning.
- Replaceable accessories.
- Seal maintenance found before evidence of damage.
These issues may affect value but do not necessarily change the entire purchase.
Get a Written Repair Estimate
Obtain an actual estimate when you find issues such as:
- Non-working appliance.
- Damaged awning.
- Slide malfunction.
- Tire replacement.
- Plumbing leak.
- Electrical fault.
- Generator problem.
Do not negotiate using a generic internet repair-price chart if the actual repair has not been diagnosed.
Pause Until Professionally Evaluated
A cautious buyer should stop and investigate further when finding:
- Significant or widespread water intrusion.
- Multiple soft structural areas.
- Major delamination.
- Frame damage.
- Repeated breaker faults.
- Propane-system concerns.
- Unsafe owner-modified wiring.
- Serious motorhome drivetrain symptoms.
- Unresolved VIN or ownership-document mismatch.
None of these automatically means the camper can never be repaired. They mean you should understand the scope and cost before taking ownership.
Final Camper Inspection Checklist Before Making an Offer
Use this condensed camper inspection checklist only after completing the full walkthrough.
Identity and Records
- VIN matches available paperwork.
- Ownership/title documents reviewed.
- NHTSA recall search completed where applicable.
- Maintenance records reviewed.
- Previous leaks and repairs discussed.
Roof and Structure
- Roof condition checked safely.
- Roof seams and sealant checked.
- Exterior walls inspected.
- Windows and doors checked.
- Ceiling and wall stains checked.
- Floors checked for soft areas.
- Cabinets and hidden corners inspected.
- Signs of previous water repair documented.
Tires and Exterior
- All tires inspected.
- DOT manufacture dates recorded.
- Spare tire checked.
- Frame and underbody visually checked.
- Hitch/coupler components reviewed where applicable.
- Slides operated.
- Awning operated where possible.
Utilities and Appliances
- 12V equipment checked.
- Shore-power equipment checked.
- Plumbing operated.
- Visible leaks checked.
- Refrigerator tested.
- Furnace tested.
- Water heater tested.
- Air conditioner tested.
- Generator tested if equipped.
Safety and Purchase Decision
- Safety alarms checked.
- Major defects photographed.
- Repair estimates requested where necessary.
- Professional inspection completed when appropriate.
- Motorhome chassis inspection arranged when needed.
- Final decision based on verified condition rather than appearance.
Frequently Asked Questions
What Should Be Included in a Camper Inspection Checklist?
A camper inspection checklist should cover the VIN and paperwork, roof and exterior seals, evidence of water damage, floors and walls, tires and frame, slides and awnings, plumbing, 12V and 120V electrical systems, propane appliances, refrigerator, furnace, water heater, air conditioner, safety alarms, and motorhome drivetrain items when applicable.
What Is the Biggest Thing to Inspect When Buying a Used Camper?
Water intrusion and structural condition deserve early attention because leaks can spread beyond the visible stain. Check the roof, exterior seals, windows, walls, floors, cabinets, and areas around plumbing. Several connected signs—such as deteriorated sealant, staining, and soft flooring—justify deeper professional evaluation before buying.
How Do You Check a Camper for Water Damage?
Start with roof and seal condition, then inspect the exterior for delamination and the interior for stains, musty smells, swelling, peeling materials, and soft floors. Open cabinets and look around windows and plumbing. A moisture meter can support the inspection, but one reading should not be treated as proof of hidden structural damage.
How Old Is Too Old for RV Tires?
There is no single tire age that automatically applies to every RV. NHTSA says tire aging increases failure risk and notes that some vehicle and tire manufacturers recommend replacement between six and ten years regardless of treadwear. Read the DOT date code and then follow the specific RV and tire manufacturer’s replacement guidance.
Is a Professional RV Inspection Worth Getting Before Buying?
A professional RV inspection can be especially valuable for first-time buyers, expensive RVs, remote purchases, suspected water damage, modified electrical systems, generators, slide-outs, or complicated motorhomes. Ask exactly what the inspection covers, request a sample report, and remember that non-destructive inspections still have limits.
Conclusion
A good camper inspection checklist helps you discover the problems that can change the purchase before you spend time worrying about cosmetic details.
Start with paperwork, roof condition, and water intrusion. Then inspect tires, frame, slides, plumbing, electrical systems, appliances, and safety equipment.
If the remaining questions involve hidden moisture, structural damage, propane, live electrical systems, major drivetrain issues, or repairs you cannot confidently price, get an independent evaluation before money changes hands.
References:
- National Highway Traffic Safety Administration — Check for Recalls
NHTSA Recall Search - National Highway Traffic Safety Administration — Tire Safety Ratings and Awareness
NHTSA Tire Safety Guidance - RV Industry Association — Standards & Regulations
RVIA Standards & Regulations - RV Industry Association — Association and ANSI Adopted Standards
RVIA Adopted Standards - National Recreational Vehicle Inspectors Association — Standards of Practice
NRVIA Standards of Practice - National Recreational Vehicle Inspectors Association — What You Need to Know
NRVIA Consumer Inspection Guidance - National Recreational Vehicle Inspectors Association — How to Avoid Buying an RV With Water Damage
NRVIA Water Damage Inspection Guidance - National Recreational Vehicle Inspectors Association — 5 Important Inspection Points When Buying a Used RV
NRVIA Used RV Inspection Guidance