
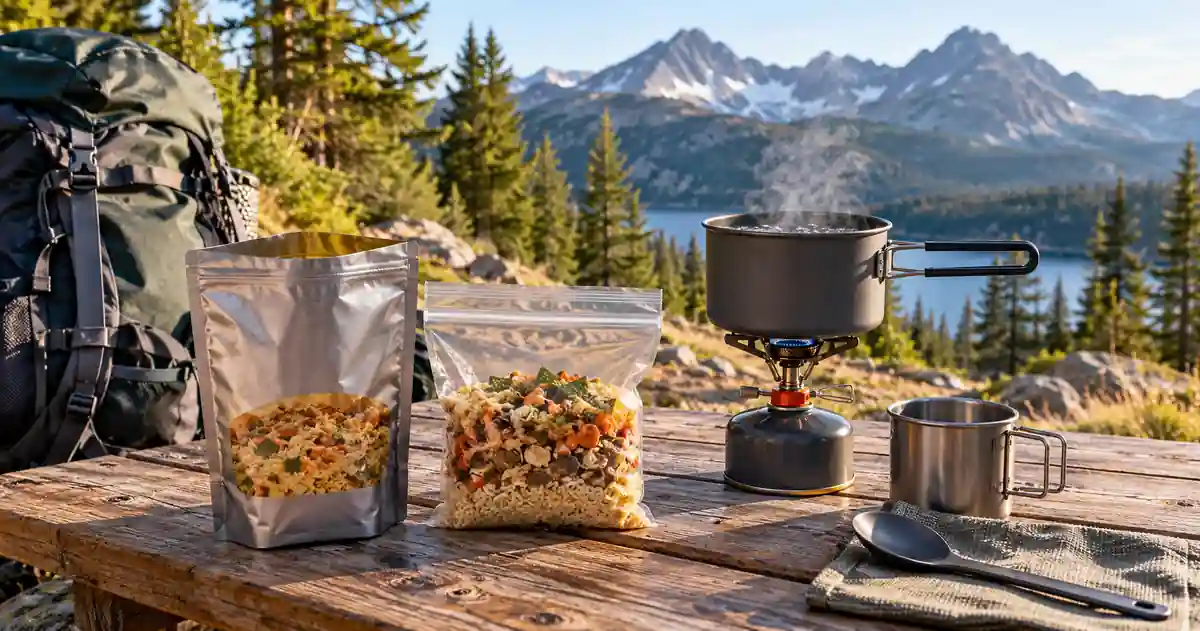
Dehydrated Camping Food: How to Choose, Pack and Rehydrate Meals
Dehydrated camping food can cut pack weight and simplify meal prep, but the lightest pouch is not automatically the best choice. Compare the entire meal: calories in the full pouch, dry weight, water required, preparation time, ingredients, allergens, and whether you need a stove. For homemade meals, safe drying and moisture-proof storage matter just as much as convenience.
This guide helps you compare commercial dehydrated camping meals, freeze-dried options, and homemade dehydrated meals so you can choose food that actually fits your trip, water plan, cooking setup, and appetite.
Table of Contents
Dehydrated Camping Food: Quick Choice Guide
| Option | Main advantage | Main trade-off | Best fit |
|---|---|---|---|
| Commercial freeze-dried pouch | Fast, simple preparation | Usually more expensive | Backpacking convenience |
| Commercial dehydrated meal | Broad range of real-food formats | Some need longer soaking or cooking | Campers prioritizing meal style |
| Homemade dehydrated meal | Control over ingredients and portions | More prep and food-safety responsibility | Repeat trips and custom meal plans |
| Stove-free or cold-rehydrated meal | Can remove stove use for that meal | Fewer options and product-specific instructions | Warm-weather or minimalist trips |
The best approach is often a mix. You might carry hot commercial pouches for dinners, quick breakfasts that need little fuel, and one no-cook backup meal for a late arrival or stove problem. That flexibility is one reason dehydrated camping food works well across both backpacking and developed-campground trips.
Freeze-Dried vs. Dehydrated Food: What Is the Difference?
“Dehydrated” and “freeze-dried” are often used as if they mean the same thing, but the processes are different.
Traditional dehydration removes moisture using controlled heat and airflow. Freeze-drying first freezes the food, then removes ice by sublimation under reduced pressure. That difference affects texture, equipment, rehydration behavior, and cost.
For the camper, the practical differences matter more than the technical terminology. Freeze-dried foods often have a porous structure that rehydrates quickly, while traditionally dehydrated foods can be denser and may need more soaking or simmering. The exact result still depends on the food and the product.
Freeze-drying also is not a sterilization step. University of Minnesota Extension notes that the process does not necessarily kill disease-causing microorganisms; if contaminated food is later rehydrated, surviving microorganisms can become active again. Safe handling before, during, and after preservation still matters.
How to Choose Dehydrated Camping Food for Your Trip
Start with the trip rather than the brand.
Ask:
- How many days are you carrying food?
- Are you backpacking or camping near your vehicle?
- How much water will be available at mealtime?
- Will you have a stove?
- Are you mostly boiling water or actually cooking?
- Do you have dietary restrictions or allergens?
- How much food will you realistically eat after a long day?
These questions keep you from choosing dehydrated camping food based on a package photo or serving claim alone.
Start With Calories Per Pouch, Not “Servings”
A package labeled “two servings” is not automatically two complete backpacking dinners. Check the nutrition panel and calculate what the entire pouch provides.
Look at:
- Calories per serving.
- Number of servings.
- Calories in the whole package.
- Protein.
- Carbohydrate and fat content.
- Dry package weight.
There is no single calorie target that works for every camper. Body size, trip difficulty, weather, pace, duration, and appetite all change your needs. The useful comparison is whether the meal gives you enough food for your trip without forcing you to carry extra weight you will not eat.
Compare Dry Weight
Dry weight is especially important for backpacking meals because water has already been removed. But low dry weight does not automatically mean a better meal.
A lighter pouch may also contain fewer total calories, require more water, or leave you hungry enough to need another snack. Compare meals on a full-package basis rather than choosing the smallest bag.
Check Ingredients, Allergens, and Dietary Labels
Read the current label every time you buy. Recipes can change.
If you need vegetarian, vegan, gluten-free, dairy-free, or other dietary options, verify the exact current product rather than relying on an older review or retailer description. The same rule applies to major allergens.
Sodium can also vary widely between packaged meals. Instead of using one universal “good” or “bad” number, compare labels in the context of your own dietary needs and trip plan.
Dehydrated Camping Food vs. Regular Shelf-Stable Camp Food
Not every meal needs to be dehydrated.
Tortillas, nut butter, instant couscous, tuna or chicken pouches, dried fruit, nuts, crackers, oatmeal, and other shelf-stable foods can complement dehydrated food for backpacking. Mixing meal types can reduce cost and give you more texture variety.
For frontcountry trips, compare dehydrated meals with a simple 3-day camping menu before assuming lightweight dried food is necessary for every meal.
Dehydrated camping food is most valuable when carried weight, compact packing, refrigeration, or fast preparation matter. If your vehicle is beside the campsite and you have a cooler, ordinary camp food may be easier and less expensive.
How Much Water Does a Dehydrated Camping Meal Need?
Water is easy to overlook because it is not included in the dry package weight.
Before buying a meal, check:
- Exact water amount required.
- Whether water must be boiling or merely hot.
- Whether the meal needs a second addition of water.
- Soak time.
- Whether any water remains to be drained.
This matters most when water is scarce or you must carry water to camp. Several “lightweight” meals can create a large evening water requirement for a group.
Commercial instructions should take priority over generic advice. Products vary too much for one universal rehydration ratio.
For homemade meals, REI uses roughly equal parts food and water as a broad starting point for many dried meals, with a typical 15–25-minute reconstitution window. Treat that as a starting reference, not a rule for every recipe. Test the exact meal at home and write the successful amount on its package.
Rehydration Time and Stove Fuel
Preparation method affects how much fuel you carry.
A meal that only needs boiling water followed by a covered soak can use much less stove time than one that must simmer for several minutes. That difference becomes meaningful over a multi-day trip.
For dehydrated camping food, common preparation formats include:
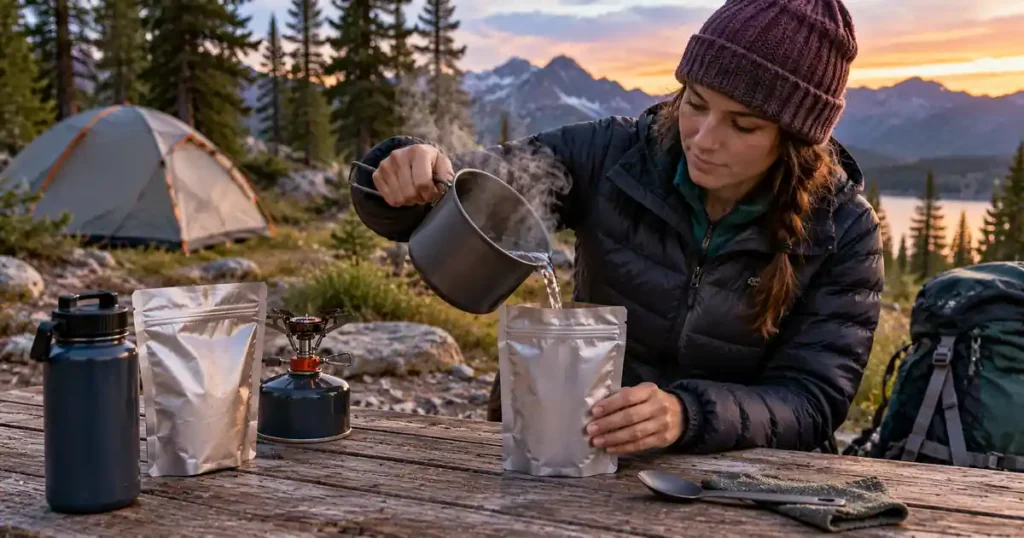
- Boil and soak: Heat water, add it to the meal, cover, and wait.
- Simmer: Keep the meal over heat for part of the rehydration process.
- Cold soak: Add cool water and wait, often much longer.
- Purpose-built stove-free meal: Follow the manufacturer’s cool-water instructions.
Current examples show how different these systems can be. Peak Refuel says its freeze-dried backpacking meals generally rehydrate in about 10 minutes or less. GOOD TO-GO separately sells Stove-Free meals designed for cool-water preparation in 10 minutes or less. Those claims apply to those product lines, not to dehydrated meals as a whole.
Commercial Dehydrated Camping Meals vs. Homemade Meals
| Factor | Commercial meals | Homemade meals |
|---|---|---|
| Prep before trip | Low | Higher |
| Ingredient control | Limited to product recipe | High |
| Portion control | Package dependent | Custom |
| Food-safety process | Managed by manufacturer | You are responsible |
| Price | Often higher per meal | Can be lower, depending on ingredients and equipment |
| Rehydration directions | Usually provided | Must be tested and labeled |
| Shelf life | Manufacturer-specific | Depends on food, drying, packaging, and storage |
Commercial dehydrated camping food is convenient when you want predictable instructions and minimal preparation before departure.
Homemade dehydrated meals are useful when you want to control ingredients, portion size, spice level, or cost. They also require more care. You need a tested drying process, clean packaging, a reliable storage plan, and rehydration instructions that you have already tested.
If you prefer doing more meal work at home without dehydrating everything, you can do more meal preparation before leaving home.
Homemade Dehydrated Meals: Food Safety Comes First
Home dehydration is food preservation, not just a weight-saving trick.
The National Center for Home Food Preservation recommends cooling dried foods completely before packaging. Warm food can create condensation inside the container, allowing enough moisture for mold growth. Dried food should be packed in clean, dry, moisture-resistant containers and stored in a cool, dry, dark place.
NCHFP says recommended storage times for dried foods generally range from about four months to one year, depending on the food and storage conditions. That is very different from long commercial shelf-life claims for some professionally freeze-dried foods.
Do not transfer a commercial manufacturer’s shelf-life claim to a homemade meal.
Meat and Poultry Need Specific Safe Methods
Meat and poultry deserve extra caution.
USDA’s current home-jerky guidance recommends heating meat to 160°F (71°C) and poultry to 165°F (74°C) before dehydrating so harmful bacteria are destroyed by wet heat before the drying process makes them more heat resistant.
That guidance is specifically for jerky. Do not use it as a universal recipe for every homemade meat sauce, casserole, or mixed dehydrated backpacking meal. For those foods, use tested preservation guidance from a reliable source rather than inventing your own drying schedule.
Freeze-Drying Does Not Sterilize Food
Home freeze-drying also needs safe food handling.
University of Minnesota Extension explains that freeze-drying has no heat-treatment kill step. Microorganisms present before drying may survive and become active again when water is added.
Start with safe ingredients, prevent cross-contamination, follow appropriate cooking temperatures, use clean equipment, and store the finished food correctly.
Dehydrated Camping Food: How to Pack It for the Trail
Packing should protect the food from moisture and make preparation nearly automatic at camp.
Use this process:
- Let home-dried food cool completely.
- Divide it into the portion you intend to eat at one meal.
- Use clean, dry, moisture-resistant packaging.
- Remove excess air when your storage method calls for it.
- Protect bags from sharp dried ingredients that could puncture them.
- Label each package before leaving home.
- Keep higher-moisture ingredients separate when needed.
- Place all meals into the wildlife-resistant storage system required for your destination.
NCHFP recommends packing dried foods in quantities that can be used at one time because repeatedly opening the same container exposes the food to moisture and air.
For the rest of your cookware, water, utensils, fuel, and cleanup equipment, build the cooking setup around your meal plan rather than packing a generic camp kitchen.
What to Write on Every Homemade Meal
A simple label can prevent mistakes after a long day.
Write:
- Meal name.
- Date prepared.
- Water required.
- Whether the water should be cold, hot, or boiling.
- Soak time.
- Simmer time, if any.
- Any ingredient packed separately.
- Trip day, if you organize food by day.
If you tested the recipe with 1 1/4 cups of water at home, write that amount down. Do not plan to remember it several days into a trip.
Camping Meal Storage Before the Trip
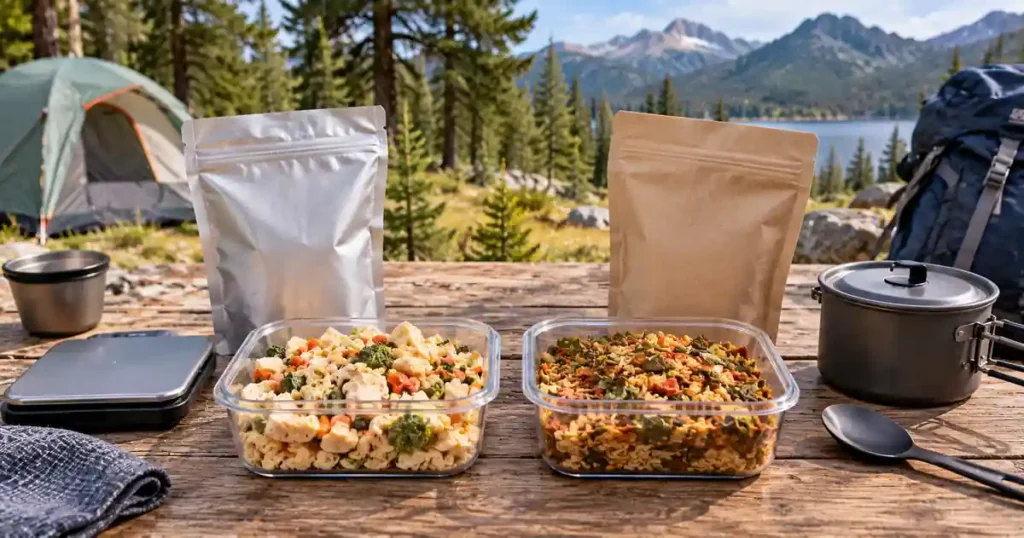
Moisture is one of the biggest enemies of home-dried food.
NCHFP recommends storing dried foods in a cool, dry, dark location and checking packages for moisture. If mold develops, the food should be discarded.
Package integrity matters too. A tiny puncture in a bag can allow moisture and air inside, so inspect meals before loading your food bag or bear canister.
Commercial dehydrated camping food should be stored according to its manufacturer instructions and used within the printed date or shelf-life guidance. Do not assume every commercial pouch has the same storage life.
Dehydrated Camping Food: How to Rehydrate Meals Properly
The safest and most reliable method is to follow the instructions for the exact meal.
A general process is:
- Read the directions before heating water.
- Measure the required amount rather than guessing.
- Heat the water to the specified temperature.
- Add it using the method the package or recipe calls for.
- Stir thoroughly, including the corners of a pouch.
- Cover or reseal.
- Wait the full recommended time.
- Stir again.
- Check texture before eating.
If a homemade meal is still firm, additional time may help. Add more water only in small amounts when the recipe allows it.
Do not pour boiling water into a storage bag unless the bag is specifically intended and rated for that use. Many homemade storage bags are designed only for transport.
Rehydrating Homemade Camping Meals
Test every homemade recipe before taking it on an important trip.
Prepare one portion exactly as you intend to in camp. Measure the water, note how long it takes, and check whether any ingredients remain hard.
If the meal needs simmering, write that on the package so you can account for fuel. If it works with a hot-water soak alone, record that instead.
Testing also helps you catch meals that rehydrate poorly even though they dried successfully.
Cold-Soaking and Stove-Free Meals
Cold soaking can remove stove use for selected foods, but it is not a universal preparation method for dehydrated camping food.
Traditional cold soaking may require a long wait and works better with some foods than others. Commercial products designed for cool-water rehydration should be treated separately because their instructions are product-specific.
GOOD TO-GO’s current Stove-Free range, for example, is specifically designed for cool water and is marketed with preparation times of 10 minutes or less. That does not mean one of the company’s traditional hot-water meals—or another brand’s pouch—can automatically be prepared the same way.
If you want a stove-free plan, choose meals explicitly designed or tested for it rather than simply skipping the heating step.
Common Dehydrated Camping Food Mistakes
Avoid these mistakes:
- Choosing a meal from serving count without checking full-pouch calories.
- Comparing dry weight while ignoring how much food the pouch provides.
- Forgetting water requirements.
- Packing multiple simmer-heavy meals without enough stove fuel.
- Assuming every meal uses the same water ratio.
- Assuming every pouch safely accepts boiling water.
- Guessing homemade rehydration amounts at camp.
- Packaging home-dried food while it is still warm.
- Reusing a package that has allowed moisture inside.
- Giving homemade meals a commercial multi-year shelf-life claim.
- Using untested meat or poultry dehydration methods.
- Assuming freeze-drying kills all pathogens.
- Ignoring current allergen labels.
- Carrying only meals that require a stove, with no simple backup when your trip warrants one.
Dehydrated Camping Food Buying and Packing Checklist
Before departure, confirm:
- Trip days and meal count.
- Actual calories in each full pouch.
- Dry meal weight.
- Dietary needs.
- Allergens.
- Required water.
- Water availability at camp.
- Cooking or soaking method.
- Rehydration time.
- Stove fuel requirement.
- Homemade meals have been tested.
- Homemade packages are labeled.
- Storage bags are intact.
- Food is protected from moisture.
- Wildlife food-storage rules are understood.
- A simple backup food option is included when useful.
The best dehydrated camping food is not necessarily the meal with the lowest dry weight. It is the meal that fits your appetite, water supply, cooking system, food-safety needs, and trip routine without unnecessary complexity.
Frequently Asked Questions
Is dehydrated camping food the same as freeze-dried food?
No. Traditional dehydration usually removes moisture with controlled heat and airflow, while freeze-drying freezes the food and removes ice through sublimation. Both create lightweight foods, but they differ in equipment, texture, rehydration behavior, cost, and storage characteristics.
Is dehydrated food good for backpacking?
Yes. Dehydrated food can be useful for backpacking because removing water reduces carried food weight and can eliminate refrigeration for properly preserved foods. The trade-offs are the water needed to rehydrate the meal, preparation time, stove fuel when heating is required, and the need to choose portions that provide enough food.
How long does dehydrated camping food take to rehydrate?
There is no universal time. Commercial pouches should be prepared according to their current instructions. Many homemade meals may take roughly 15–25 minutes using a hot-water method, but ingredients and recipes vary. Test homemade meals before your trip and label the successful water amount and soak time.
Can you make dehydrated camping meals at home?
Yes, but use tested food-preservation methods. Cool dried food completely before packaging, protect it from moisture, and follow reliable guidance for ingredients that require specific safety steps. Meat and poultry need particular care; do not invent your own low-temperature drying process for them.
Can dehydrated camping meals be rehydrated with cold water?
Some can, but not all. Certain foods work with traditional cold soaking, and some commercial meals are specifically designed for cool-water preparation. Follow the exact product or tested recipe instructions rather than assuming any hot-water meal will rehydrate safely or successfully without heat.
Conclusion
Dehydrated camping food works best when you plan the full meal rather than choosing by package weight alone. Compare calories, dry weight, water requirement, preparation method, ingredients, allergens, and stove fuel before buying.
For homemade meals, test rehydration at home, label the exact water and time, cool and package the food correctly, and follow authoritative preservation guidance. That preparation gives you lighter, simpler meals without turning dinner at camp into guesswork.
References:
- National Center for Home Food Preservation — Packaging and Storing Dried Foods — verified guidance on cooling, moisture-resistant packaging, storage conditions, storage-time ranges, and discarding moldy dried food. NCHFP — Packaging and Storing Dried Foods Home Food Preservation
- USDA Food Safety and Inspection Service — How Can I Make Meat or Poultry Jerky at Home? — verified current USDA jerky guidance, including 160°F (71°C) for meat and 165°F (74°C) for poultry before dehydration. USDA FSIS — Home Jerky Safety Ask USDA
- University of Minnesota Extension — Preserving Food at Home: Freeze-Drying — verified freeze-drying process, moisture-removal method, packaging considerations, and the absence of a microbial kill step. University of Minnesota Extension — Freeze-Drying Food University of Minnesota Extension
- REI Co-op — How to Dehydrate Food for Camping & Backpacking — used for broad homemade rehydration guidance, meal labeling, packaging ideas, and the approximate equal-food-and-water starting point. REI — How to Dehydrate Food for Camping & Backpacking REI
- Peak Refuel — Backpacking Meals — used only to verify the current manufacturer claim that its freeze-dried backpacking meals generally rehydrate in about 10 minutes or less. Peak Refuel — Backpacking Meals Peak Refuel
- GOOD TO-GO — Stove-Free Meals — used to verify its current cool-water Stove-Free meal format and manufacturer-stated preparation time of 10 minutes or less. GOOD TO-GO — Stove-Free Meals